This commission is very special to me because I made it for the one and only Dr. Hannah Shamloo!
Hannah arrived as a new professor in my geology graduate program shortly after I started at Central Washington University in 2021. I was impressed by all she had accomplished, but was also intrigued by how funny and cool she was. Then I discovered she’s Persian, like me! It didn’t take long before I was popping into her office (next door to mine!) to chat about life and remind one another of our inherent badassery by saying, “you just can’t help but slay!” (which is memorialized as a sticky note in her office, of course). Hannah made me feel seen in a way I had not experienced by a professor before.
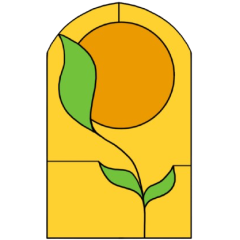
Shortly after arriving at the university, Hannah established her research lab called the Center for High-Temperature, Volcanic, and Experimental Studies, or CHIVES, where she and her students study the processes and timescales that lead to volcanic eruptions.
Fast forward to 2025: we are catching up over lunch and I mention my stained glass hobby. I show her some pictures of my work, and she asks me to commission a piece for her. Yay!
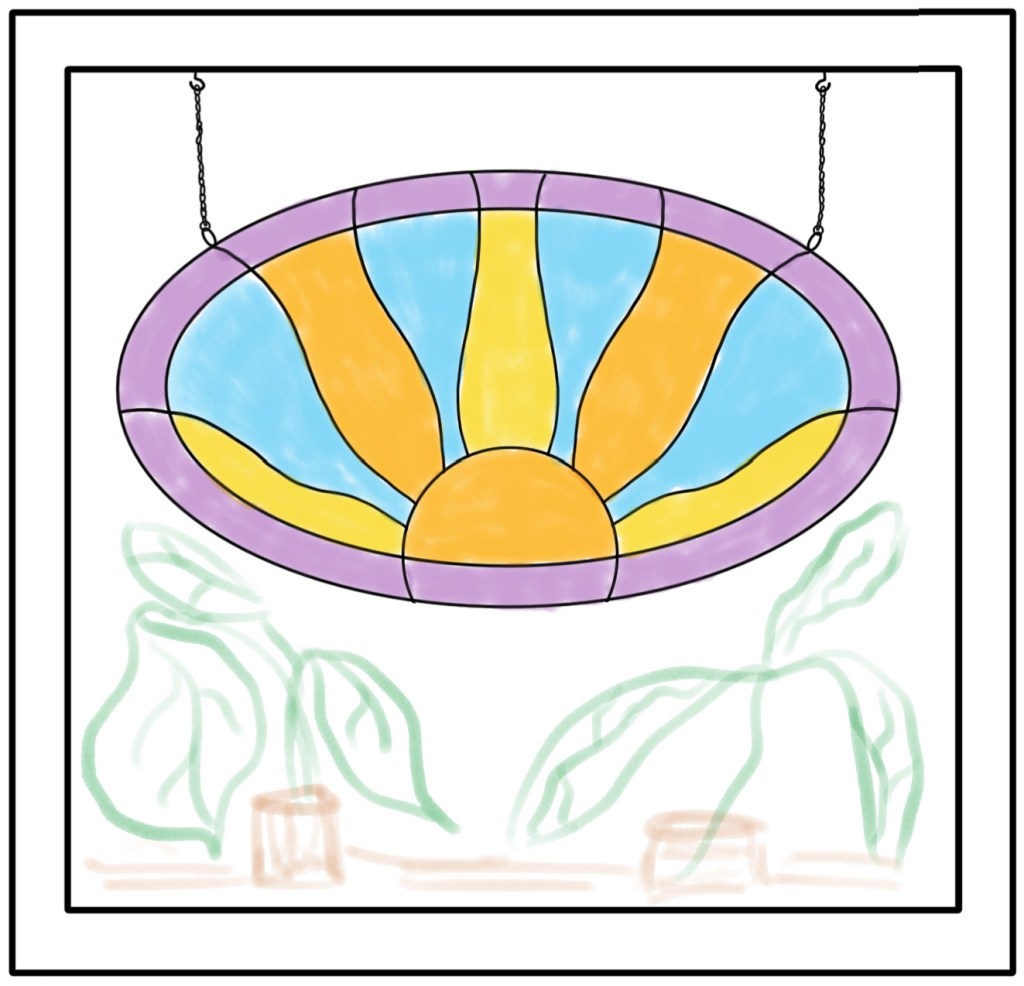
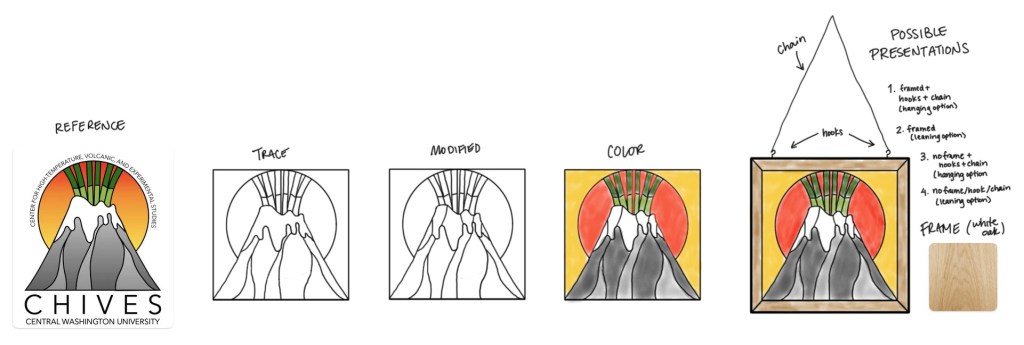
When I was drafting up the design, I pulled up the logo of her research lab for inspiration. Then I realized, this logo is already well-designed for stained glass! I sent her my modified version and gave her a sense of what the final piece would look like. We agreed on the following design:
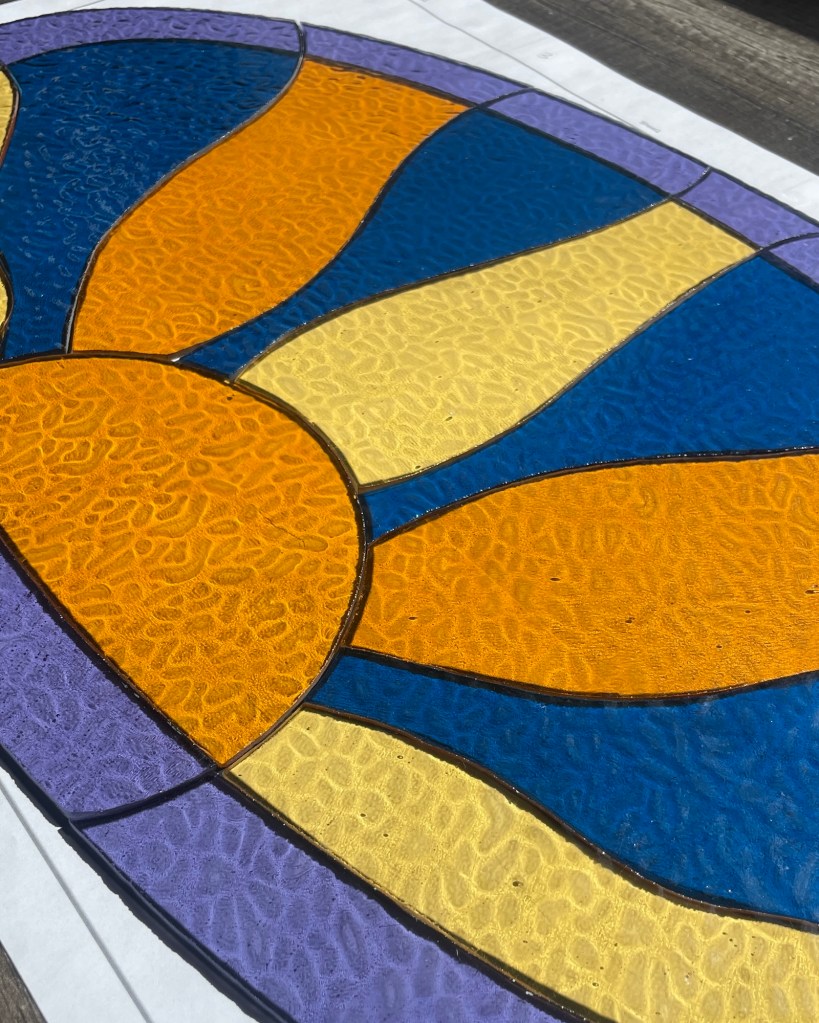
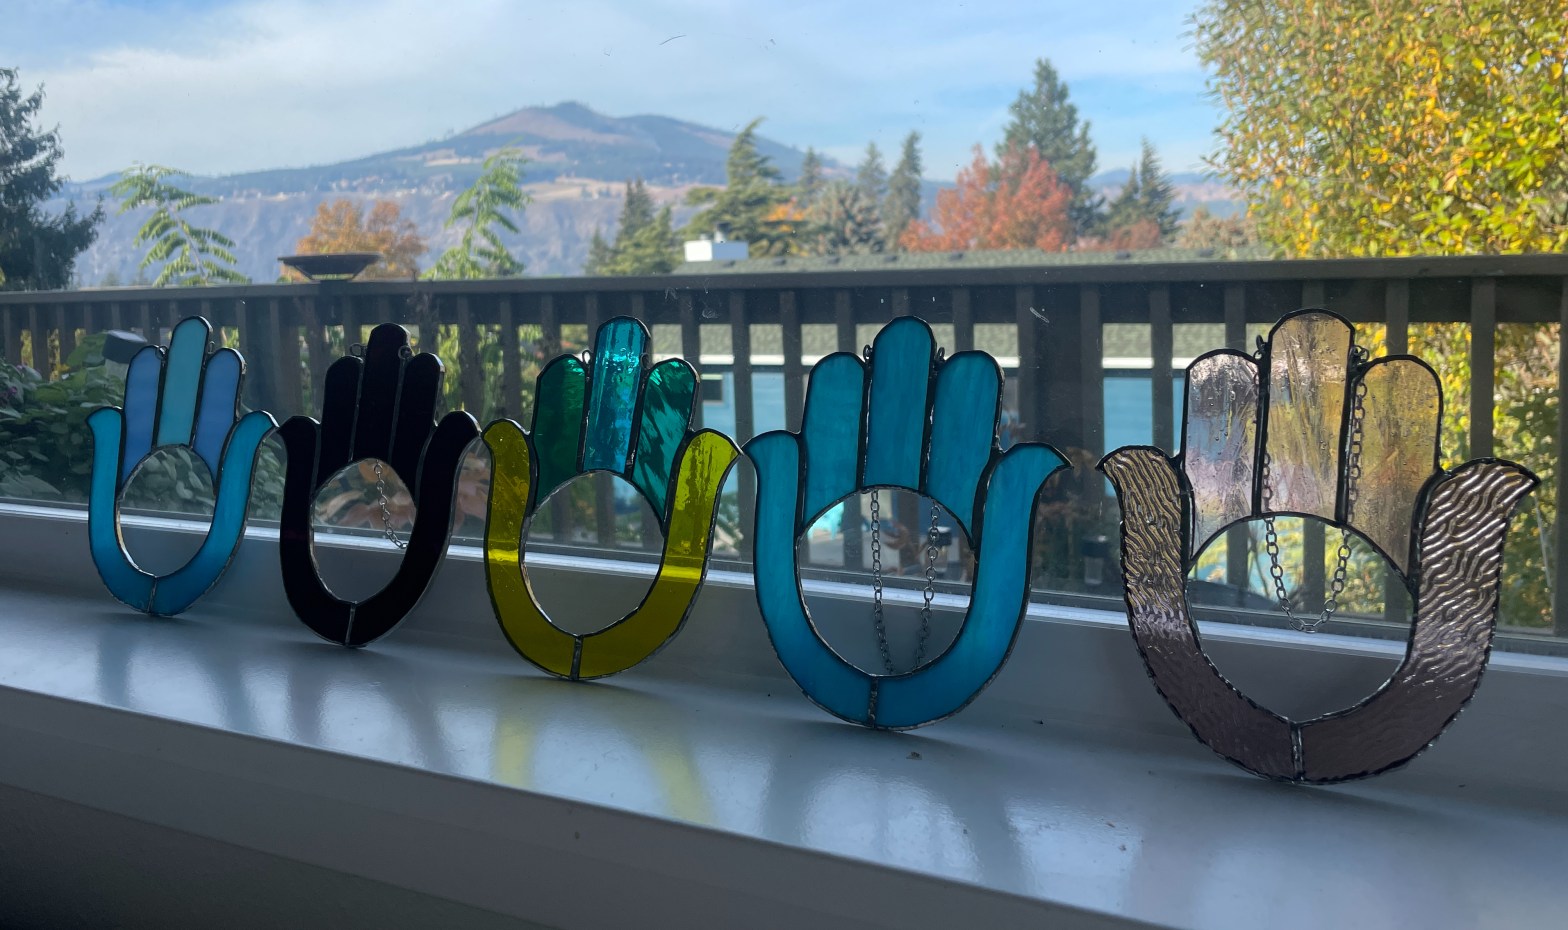
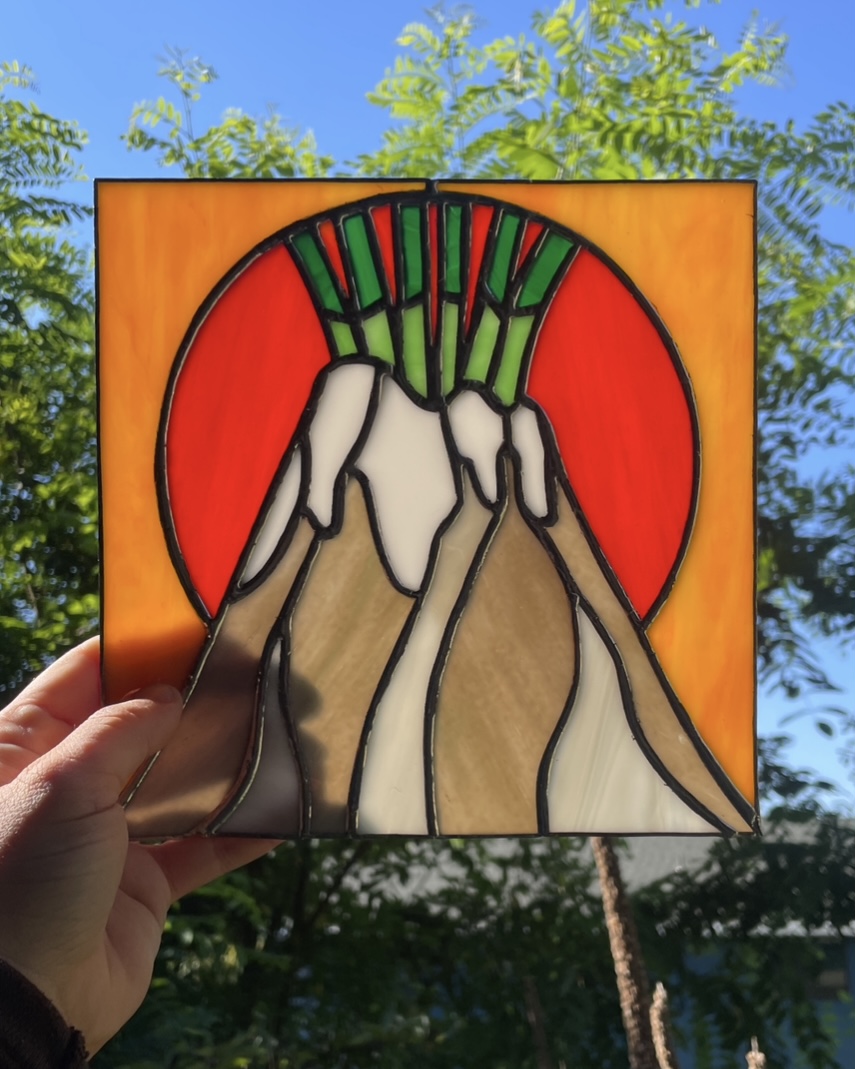
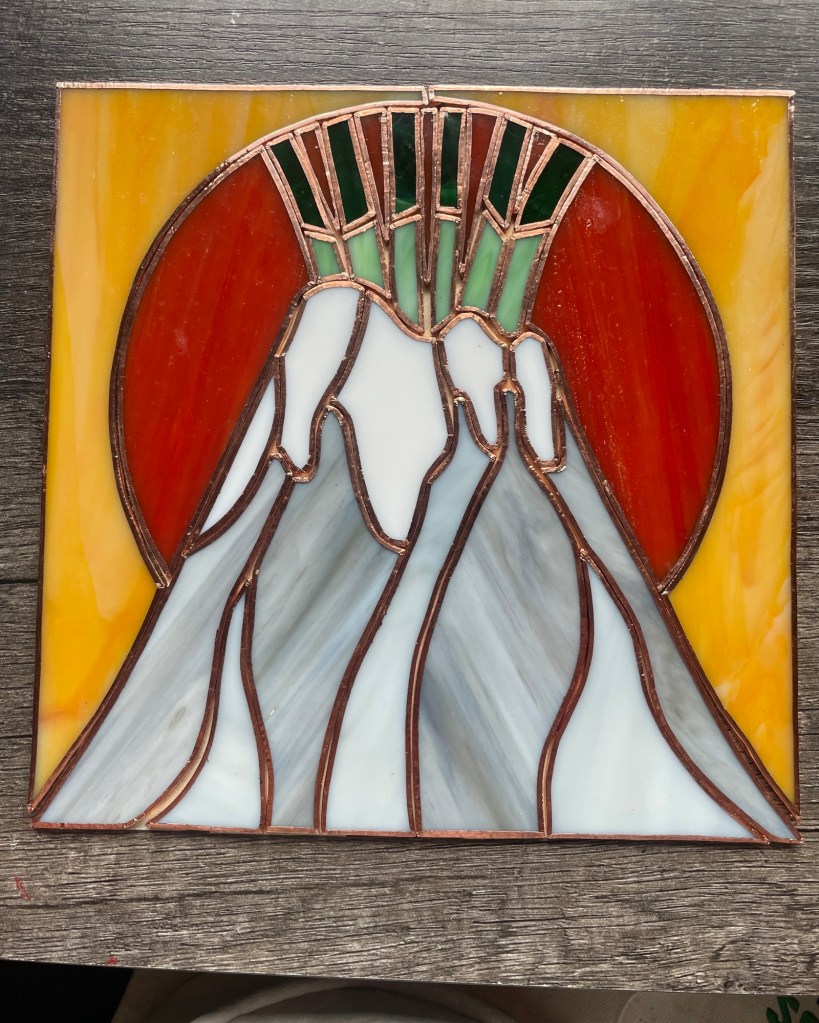
So I began working on the piece and everything was coming together so seamlessly. I sent Hannah some progress pictures along the way, and we were both so pumped with how it was turning out. It was truly glowing volcanically!
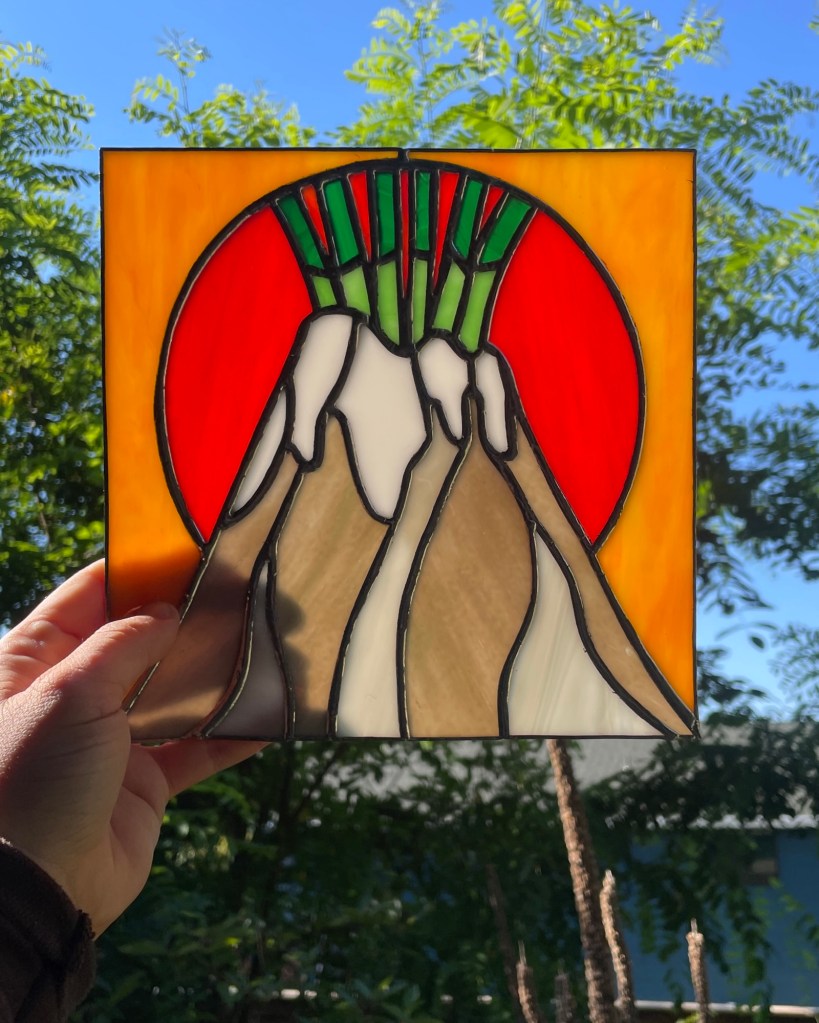
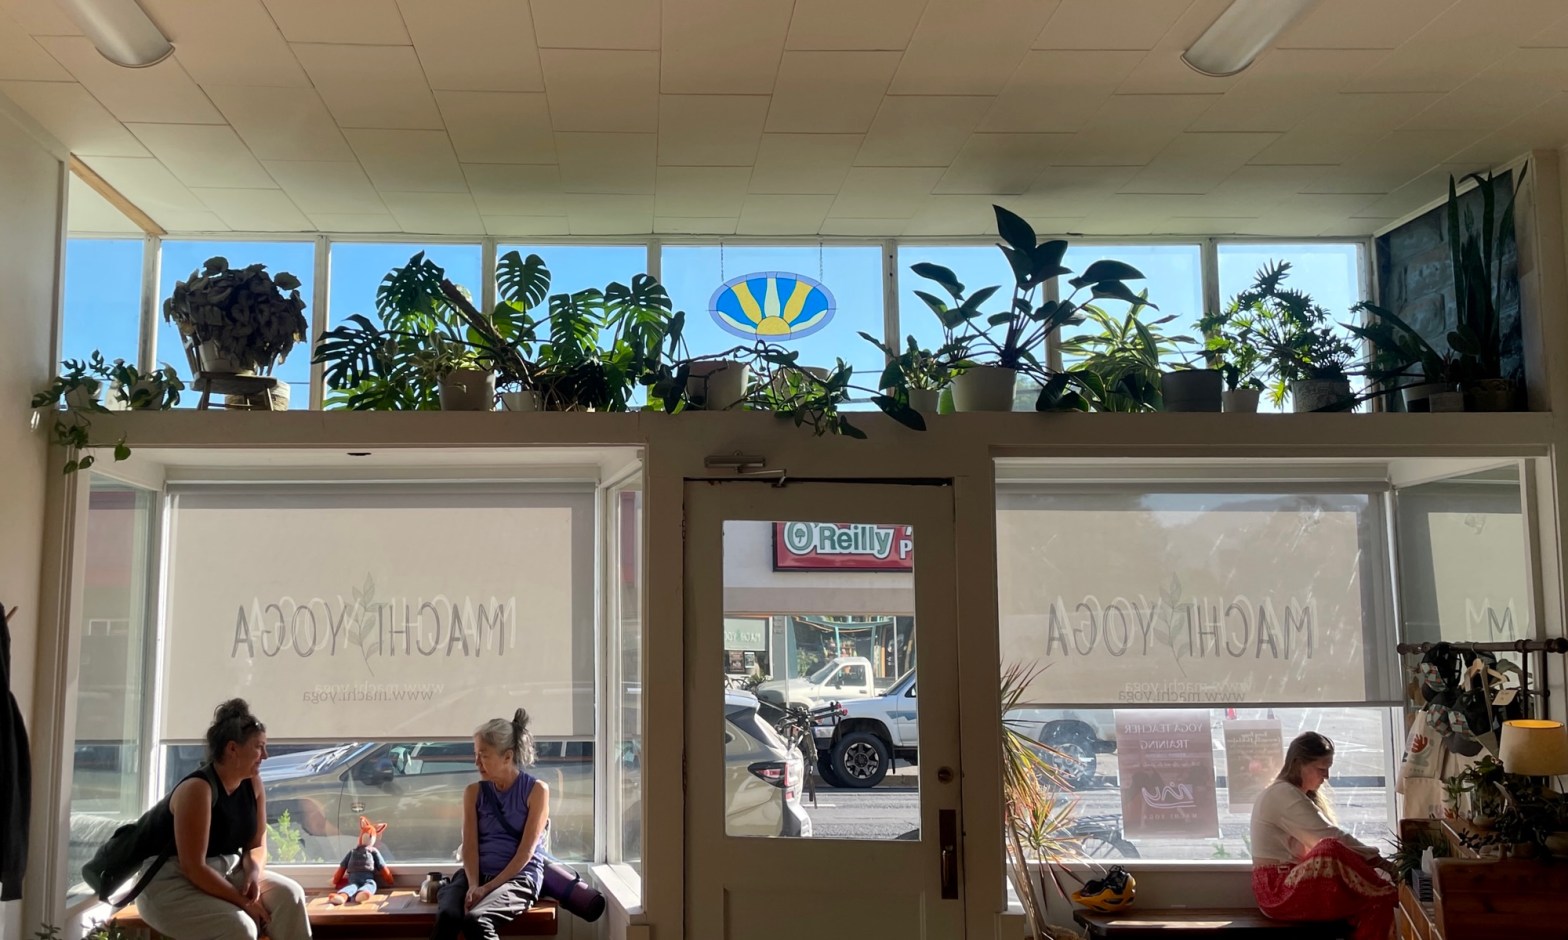
The piece really transforms when backlit, turning the grays into browns and illuminating the oranges and reds. Once framed, the final piece was sent to Ellensburg, where it currently hangs in Hannah’s office.
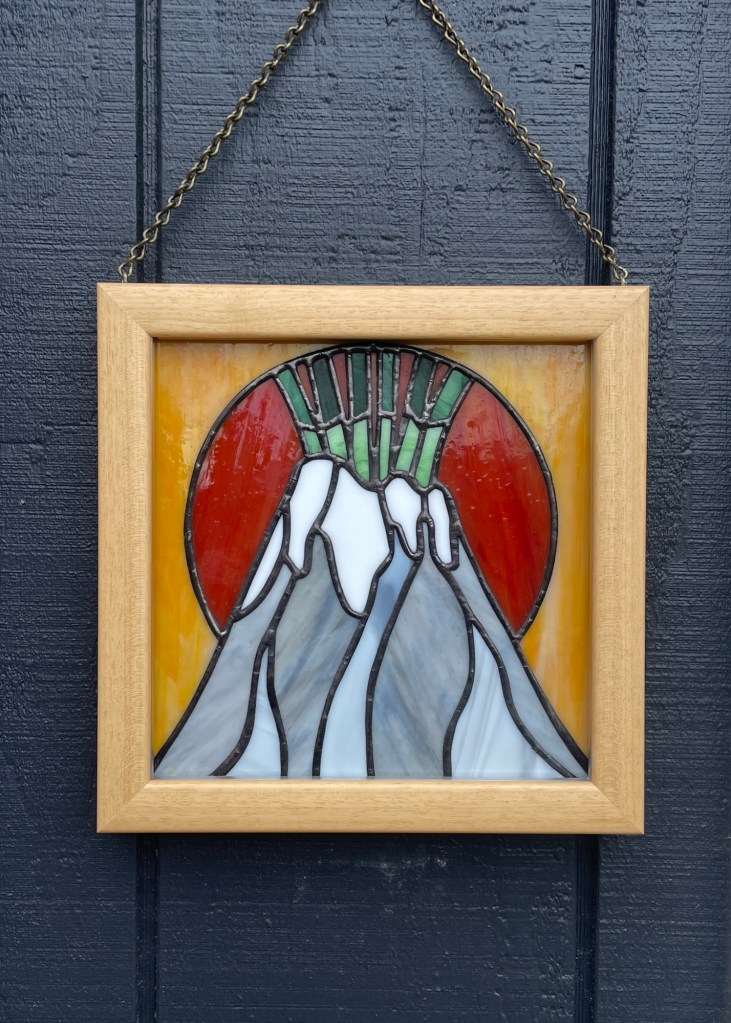

I am really proud of how well this piece turned out and so grateful for the opportunity to give back to one of my most inspiring and encouraging professors. This piece truly reflects Hannah’s vibrant personality, professorship, advice, and research. I feel so lucky to have benefitted from Hannah’s bright light during my Masters.
Dr. Hannah Shamloo is an igneous petrologist and geochemist interested in the magma reservoirs beneath volcanoes, especially the processes that lead to eruptions. You can find out more at hannahshamloo.com.
Interested in a custom piece? Submit your request by visiting my Commissions page.